[React-章节6 实践篇] 做一个留言板项目 之 规划
前提
做这个项目之前,至少需要掌握1-5章节的内容,否则跨度太大。本篇将编写单页应用,实现:查看留言列表,留言详情,发表留言 一共3个功能,大概会涉及到5-6个组件。
准备
此前学习过程中,没有注重项目的组织结构清晰性,所有代码和配置都搅和在一起,编译后的文件和源代码也混在一起,非常难以管理。
在开始本项目之前,我按照自己的理解重新整理了项目,建立了common目录存放框架的通用配置(例如路由)和库文件,建立component目录用于存放各种组件。同时,也修改了配置文件webpack.config.js,令编译后的文件输出到output目录,同时将js输出到output/js,img输出到output/images,css输出到output/css目录。我还为index.html编写了模板文件index-template.html,在其中添加了支持移动端相关的viewport标签和编码标签。
整个项目结构大概如下:
|
1 2 3 4 5 6 7 8 9 10 11 12 13 14 15 16 17 18 |
MacBook-Pro:spa baidu$ ll total 24 drwxr-xr-x 4 baidu staff 136 9 21 15:19 common drwxr-xr-x 6 baidu staff 204 9 21 15:12 component drwxr-xr-x 229 baidu staff 7786 9 20 14:11 node_modules -rw-r--r-- 1 baidu staff 897 9 20 14:10 package.json -rw-r--r-- 1 baidu staff 296 9 20 13:43 webpack-production.config.js -rw-r--r-- 1 baidu staff 1709 9 21 14:10 webpack.config.js MacBook-Pro:spa baidu$ ll common/ total 16 -rw-r--r-- 1 baidu staff 947 9 21 15:19 Router.es6 -rw-r--r-- 1 baidu staff 305 9 21 14:12 index-template.html MacBook-Pro:spa baidu$ ll component/ total 8 -rw-r--r-- 1 baidu staff 303 9 21 14:12 Container.es6 drwxr-xr-x 3 baidu staff 102 9 21 15:12 MsgCreatePage drwxr-xr-x 3 baidu staff 102 9 21 15:12 MsgDetailPage drwxr-xr-x 3 baidu staff 102 9 21 15:10 MsgListPage |
可以点击下载这个初始化的项目,后续的开发会基于这个结构继续添砖加瓦。
构思
整个app包含3个页面:
- 留言列表页:支持滚动,上拉刷新,下拉加载
- 留言详情页:点击列表某项,进入观看完整留言
- 发表留言:点击列表页头部按钮,进入编辑页面输入留言,最终提交留言。
其中,列表页涉及一些手势交互,是最复杂的;后两个页面功能相对单一,实现不复杂。
动手
路由
列表页可以配置为/msg-list,从服务端翻页获取列表数据,并且每条msg有唯一的id。
详情页可以配置为/msg-detail/:msgId,这样详情页可以捕获id从服务端获取数据。
发表页可以配置为/msg-create,填写内容点击发布即可,发布后跳转到/msg-detail页面。
搭架子,形成雏形
在上面下载的项目中,已经准备好了基本的雏形,配置好了相关的路由,可以分别看一下。
首先路由配置如下:
|
1 2 3 4 5 6 7 8 9 10 11 12 13 14 15 16 17 18 19 20 21 22 23 24 25 |
import React from "react"; import ReactDOM from "react-dom"; import {Router, Route, IndexRoute, hashHistory} from "react-router"; // 默认的App根路由,作为组件容器 import Container from "../component/Container"; // 各种小组件在这里引入 import MsgListPage from "../component/MsgListPage/MsgListPage"; import MsgDetailPage from "../component/MsgDetailPage/MsgDetailPage"; import MsgCreatePage from "../component/MsgCreatePage/MsgCreatePage"; ReactDOM.render( ( <Router history={hashHistory}> <Route path="/" component={Container}> <IndexRoute component={MsgListPage} /> <Route path="msg-list-page" component={MsgListPage}/> <Route path="msg-detail-page/:msgId" component={MsgDetailPage}/> <Route path="msg-create-page" component={MsgCreatePage}/> </Route> </Router> ), document.getElementById('reactRoot') ); |
3个路由项分别指向3个Page级的组件,这3个组件可以在component目录下找到它们。拿其中一个MsgDetailPage为例,看一下实现:
|
1 2 3 4 5 6 7 8 9 10 11 12 13 14 15 16 17 18 |
import React from "react"; import {Link} from "react-router"; export default class MsgDetailPage extends React.Component { constructor(props, context) { super(props, context); } render() { return ( <div></div> ); } } MsgDetailPage.contextTypes = { router: () => { React.PropTypes.object.isRequired } }; |
可见,该组件仅仅返回空的<div>,需要我们继续为其创建更多的子组件填充进去,从而形成”留言详情页”。正因为该页面功能单一,所以我会先从这个页面开始着手开发。
开发工具
首先,需要启动webpack-dev-server,保证项目实时刷新到浏览器中。同时,你应该已经熟练的使用webstrom进行代码编写。
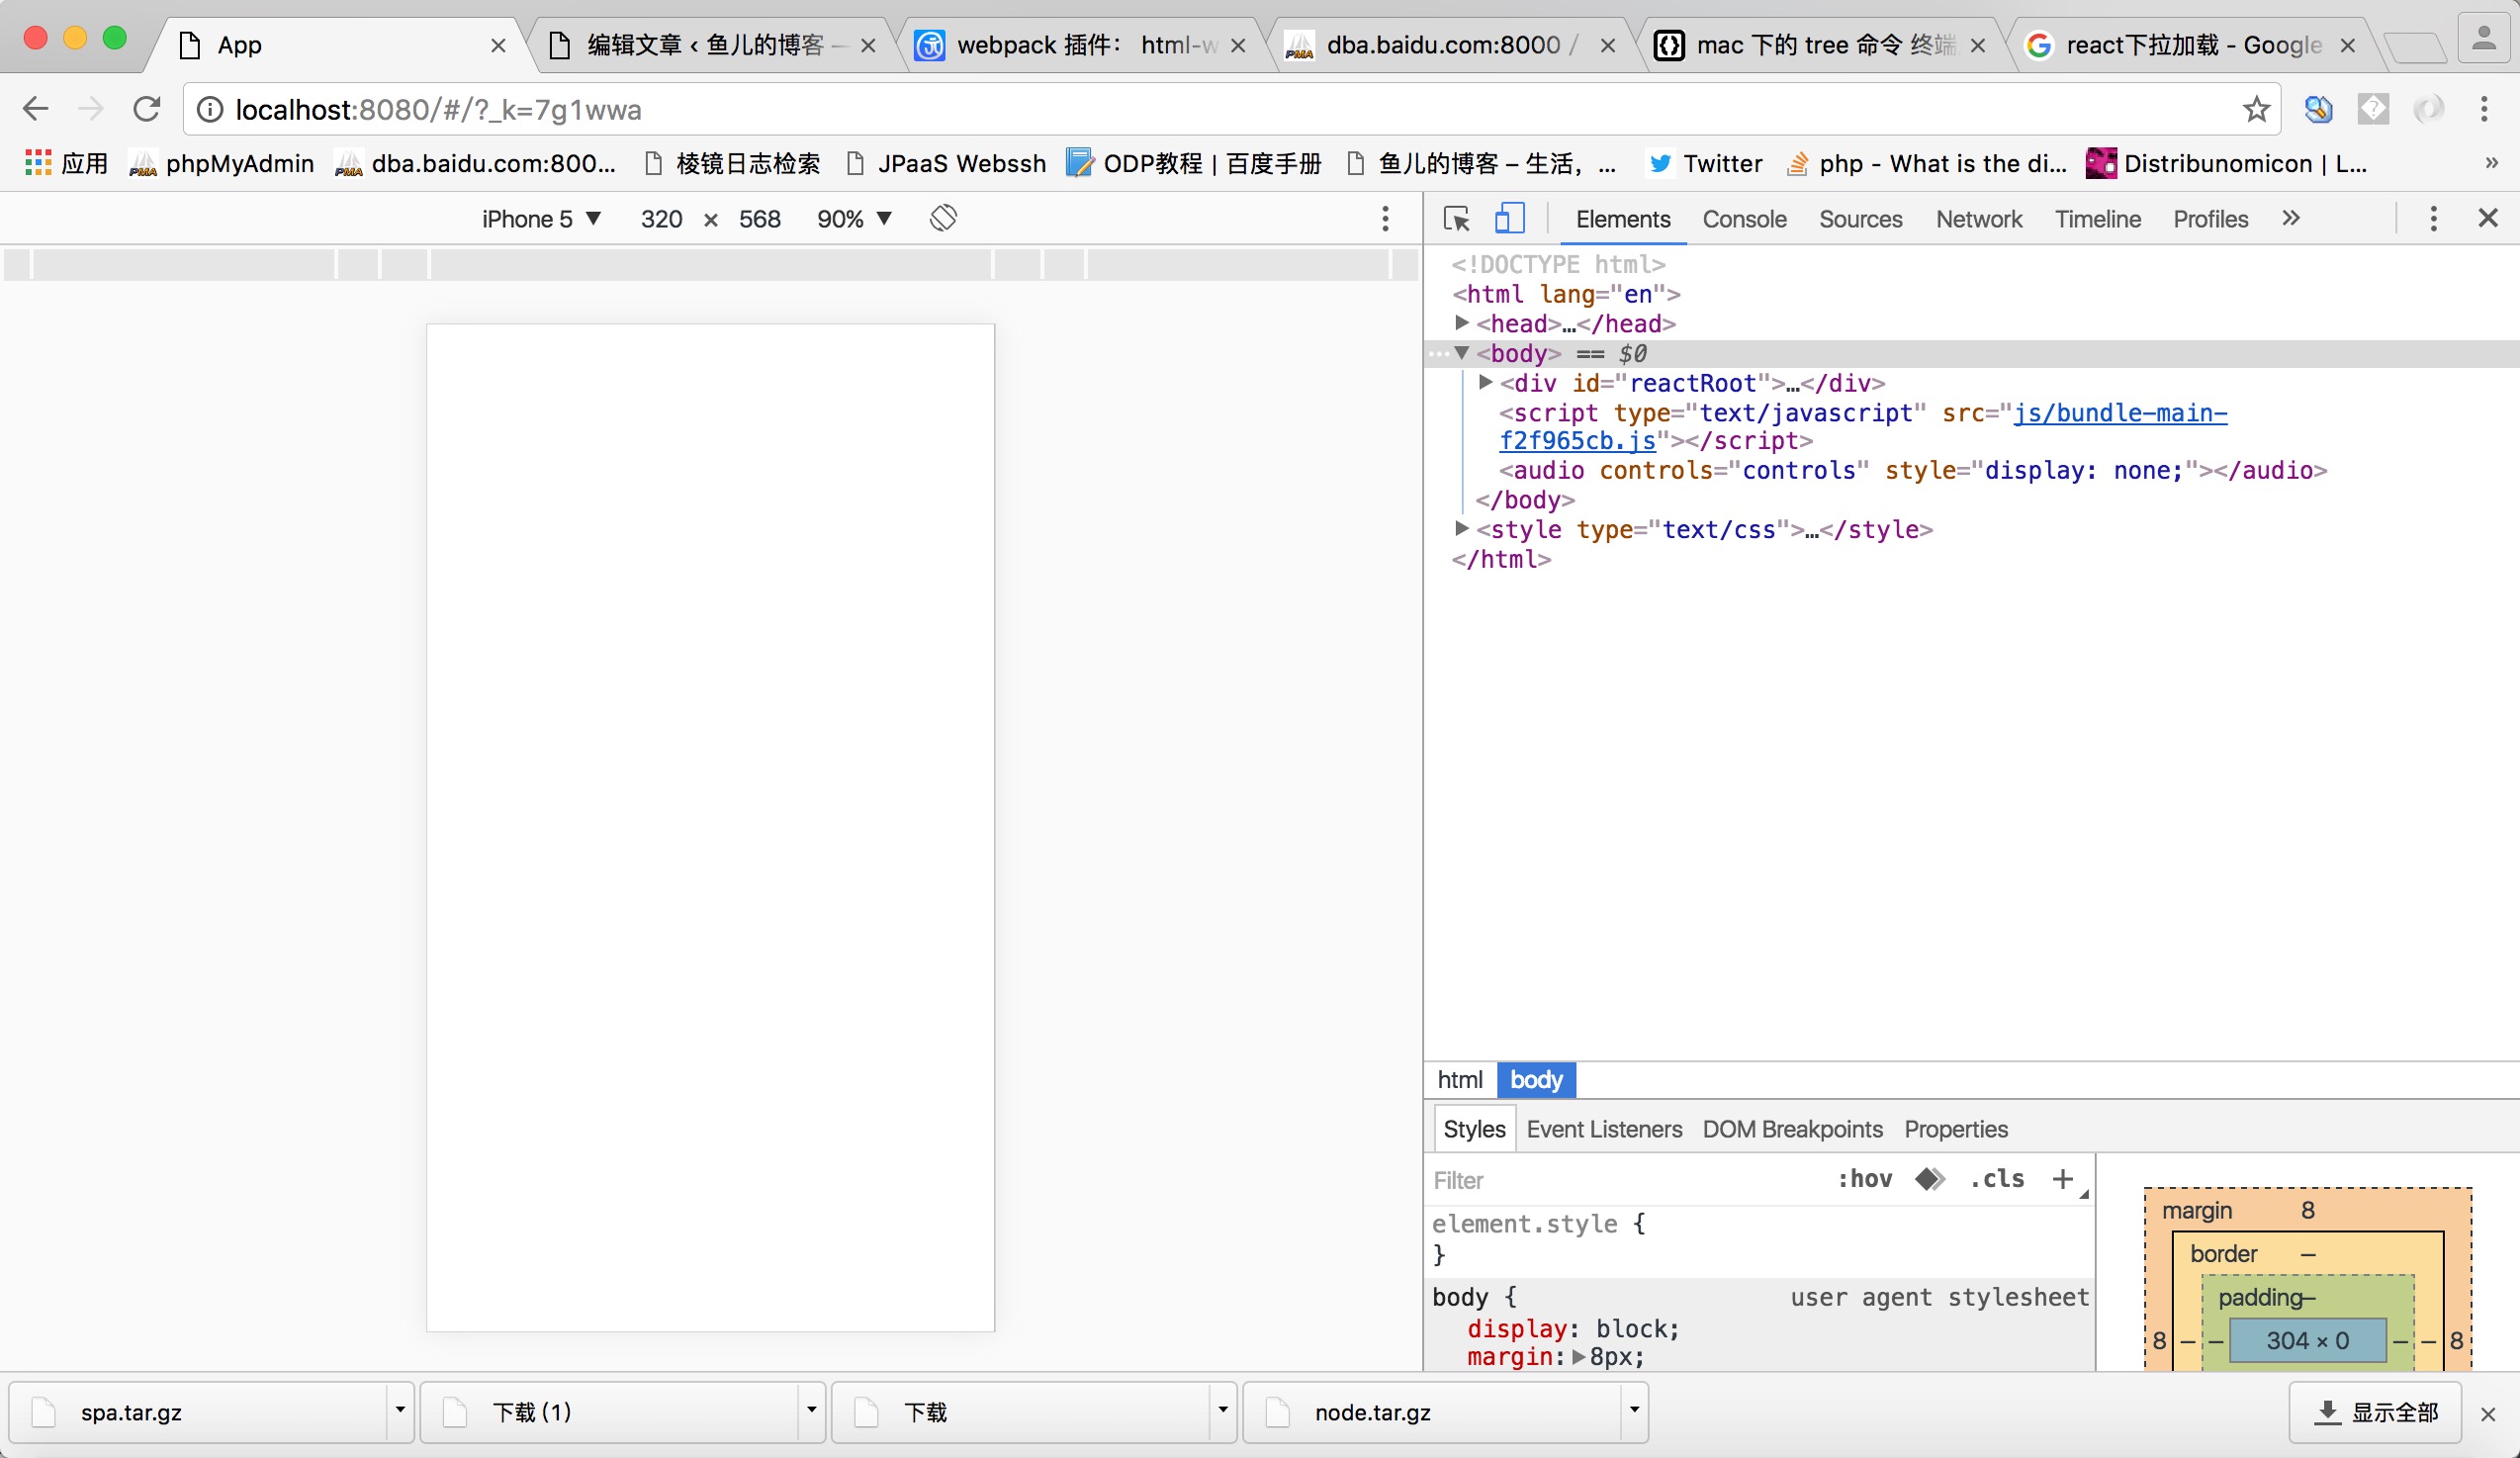
其次,需要打开chrome浏览器,打开开发者工具选择iphone5设备,将调试栏挪到右侧,左侧保留页面。
此后,可以localhost:8080,它将默认打开MsgListPage,我们的开发从此起步。
我的界面长这样,你的呢?
在下一篇中,我将编写一个非常非常简单的”留言详情页”,动手练练吧!
如果文章帮助您解决了工作难题,您可以帮我点击屏幕上的任意广告,或者赞助少量费用来支持我的持续创作,谢谢~
1